DIY Guitar Effects Pedals: Get your hands dirty!

by Mark ~ August 8th, 2009

When I happened to discover the blues backing tracks from 50Blues.com it occurred to me that there may be some e-books on ClickBank relevant to the guitar electronics hobby.  In fact, I found very few… a couple of books on building your own guitar (presumably including the electronic wiring) and what looks to be a very good series of three DIY effect pedal books.

It was this latter series that was an exciting find for me for several reasons:

  • They are written by Brian Wampler of IndyGuitarist.com and WamplerPedals.com, a well-known participant in the DIY community
  • They promise to span the need of beginner through advanced builders and even address modification of standard pedal products
  • Low-voltage guitar effects pedals provide an alternative way to chase guitar tone for those DIY-ers that want to avoid the dangers of tube-amp construction projects
  • I often find ‘build your own guitar’ books on the shelves of my local bookstore but I have yet to find guitar related electronics books there (though there are a few in publication)
  • E-Books can provide instant gratification via download

There are several other resources that you may want to check out if you think you would like to get involved in DIY guitar effects pedals.  I’m a big fan of community forums on the Internet and two stand-out examples of effects forums are DIY Stompboxes and Free Stompboxes (you have to register on these sites to get to the good stuff).

So, if you think you’d like to get involved in DIY tone generation, check out Brian Wampler’s DIY Guitar Effect Pedal Books


Blues Backing Tracks: an Essential Part of Learning Guitar

by Mark ~ May 31st, 2009

As previously noted, I started building tube amps shortly after deciding to pickup the guitar mid-life and focus on the Blues.  I had never played with a band before and electric blues soloing definitely suits a band environment… so backing tracks have become an essential part of my guitar practice.  I’ve taken to setting up my main amp in the living room with the stereo and using a wireless music streamer remote control to select backing tracks that can be streamed through the stereo from my PC.  Occasionally I’ll drop original backing track CDs into the player directly as well.  A documented set of high quality backing tracks with different tempos and keys has become another thing to collect!

There are quite a few sources of backing tracks on the Internet, at many different price points, including free.  Quality varies considerably… buyer beware & sometimes you get what you pay for!  Often the tracks aren’t documented at all, which may be o.k. for an experienced player but a PITA for a beginner.  In the free camp, I’ve found some nice tracks from the Guitar Center King of the Blues Contest still kicking around online.

While browsing through the ClickBank marketplace I stumbled upon a nicely packaged backing track offering from 50blues.com by Zack Roberts… it is a documented set of 50 blues backing tracks produced with a real band and bundled with a number of interesting bonus items.  A bonus for me was that the five free backing tracks you get to download by opting in to the email list includes a Shuffle in A which aligns nicely with my current guitar lessons and progressions.  You can check out the descriptive sales letter and get access to the five free tracks… Click Here!

Another place you can find backing tracks is bundled into a book.  One of my favorite finds was the backing tracks contained in the book Blues by the Bar: Cool Riffs That Sound Great over Each Portion of the Blues Progression .  I initially bought this book because it seems to align well with my teacher’s approach, with riffs for each portion of the blues progression in an assortment of keys.  Although I haven’t delved into the riffs in the book, yet, I was able to take advantage of the enclosed backing tracks right away… I found these simpler, slower tracks really useful to help me get a new progression ‘under my fingers’.

Now I just need to spend more time practicing than soldering!

My ‘FET Dream’ Drove Me to Distraction

by Mark ~ February 27th, 2009

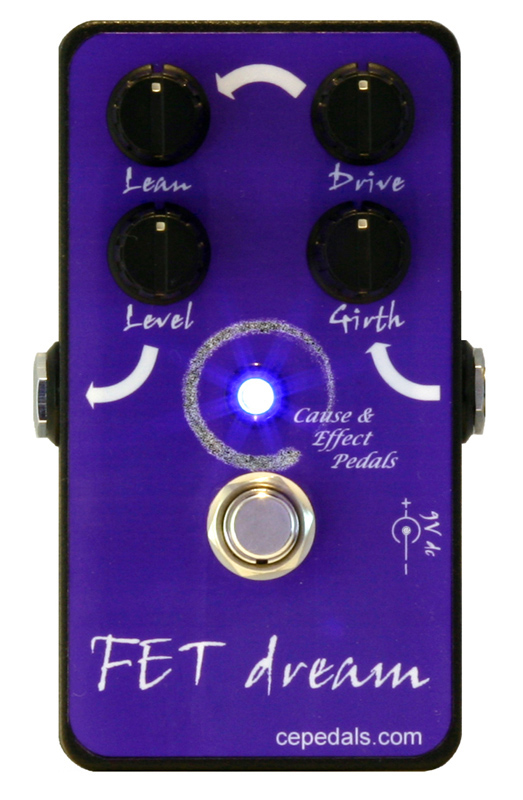
Cause & Effect Pedals FET Dream Overdrive/Distortion pedal Hello neglected readers!  I have to apologize for the lack of new content these last few months… I did deliberately take the summer off, but then got deeply involved in the design, simulation, prototyping, refinement, pre-production, web-design, copywriting, clip making, video taking and tons of other minutiae involved in trying to bring a little pedal project to life!

I feel like we’ve reached a major milestone with the publication of our press release on Harmony-Central: http://news.harmony-central.com/Newp/2009/Cause-Effect-Pedals-FET-Dream-Overdrive-Distortion-Pedal.html and I expect to soon get back to blogging here on TubeNexus (there’s lots of unfinished business and new projects to talk about).

But first, let me introduce you to Cause & Effect Pedals!  (Gratuitous self-promotion follows)

I have started this company with a good friend and fellow Dumble Amplifier enthusiast who is like-minded about what is required to ‘do things right’ in the pedal space and we were both itching to ‘get it done.’  The FET Dream is our debut product and we have a number of other innovative ideas that we hope to build on the foundation of this pedal.  Some of our motivations are shared on the homepage of CEPedals.com and additional detail is provided in About Us.

With the FET Dream we have tried (and succeeded, IMHO) to deliver a unique and differentiated distortion pedal to market with unmatched clarity, definition, and presence yet harmonically rich and with a bit of tube-warmth in its tone (sorry, no tubes in this particular pedal ;-)  You can read an overview of its capabilities here and get some detail on the specifications here.  The pedal is designed to be very versatile… easily adapts to many guitars and delivers an incredible variety of useable tone, with each control musically useful over its entire range of operation.

We have had tremendous help from friends, associates and fellow forum-ites in realizing this project, some of which are provided as Links and many more that remain anonymous.  In particular, we were able to quickly pull together some excellent clips from our friends with good chops, including Blues-purist, JW-Jones. (Disclaimer: my poor/non-existent guitar chops should in no way reflect on JW’s or his excellent teaching skills!)  Please check out the entire collection of FET Dream Clips.

We will shortly be in production on this pedal and we have set a deeply discounted price to encourage early adopters to get on our waiting list for the production version: How to Buy One.

It was really gratifying to have lots of positive feedback from our beta testers on this project, but I think the most gratifying of all was the process of bringing this to life.  I happened to watch an Eric Johnson DVD the other day where he was being interviewed and talking about how important it was for him to enjoy the process and not just focus on the end goal of a finished album… this really rang true to me as I reflected back on the development of the FET Dream.

Building the Expression Kit — Part 6

by Mark ~ June 2nd, 2008

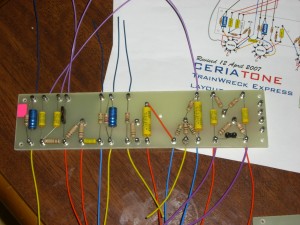
The Ceriatone Expression mainboard

At the end of this step we should, in theory, have a working amplifier. The step mainly involves straight one-to-one wiring of the main-board leads to the pots and tube sockets, as well as wiring the power supply leads to the appropriate main-board turrets.

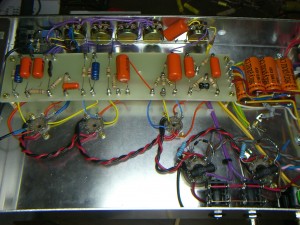
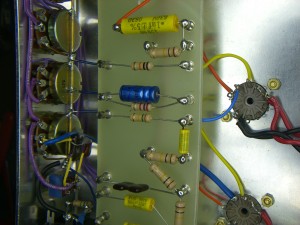
Main board and presence caps upgraded to Orange Drops

This photo shows the final wiring, after I upgraded the yellow Mallory 150s supplied in the kit to Orange-Drop 600V polyester capacitors. I found the 150s bright/brittle sounding and noticed in my tweaking that they are quite microphonic as well. The orange drops should be the 6PS type from Vishay/Sprague or SBE or the PVC type from Mallory. You don’t want the 715 series polyproplyene capacitors.

You might also notice a grid resistor on the 2nd triode of V1. In my debugging I had played with a grid resistor here to help stabilize the amplifier a bit (keep it from easily breaking into oscillation). A grid resistor is a common tweak seen in real Trainwrecks as well, a common result of the tweaking process. I don’t think I need this resistor anymore, but felt it did no harm to leave it in place.

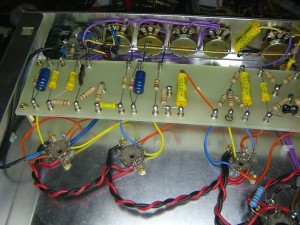
Overview of the wiring of pots and preamp/PI sockets to mainboard

Another, earlier, overview shot of the main-board wired in place. Definitely refer back to the Francesca wiring pictures for this phase of the project (see Part 1)! You want to make sure that you get the lead dress (wire routing and shaping) correct here!

Mainboard, tube sockets and pots

After completing all the amp wiring, check and double-check the finished product against your layout diagrams and wiring photos. It may help to take a break from the project and come back to do your final checks with fresh eyes. Resist rushing to plug it in and ’smoke test’ the device… you might get smoke! Next time we’ll talk about power up and debugging.

Building the Ceriatone Expression Kit — Part 5

by Mark ~ May 18th, 2008

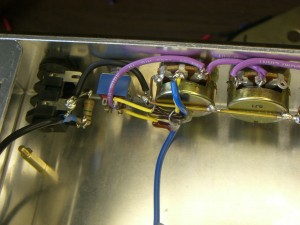
Input jack and bright cap wiring

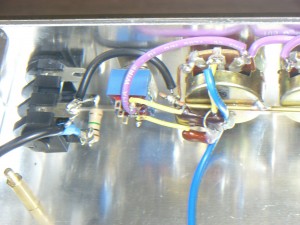
Some of the most critical wiring in a high-gain amp like the Trainwreck is around the 1st tube stage… including the Input Jack, the Volume Control, and the route to the grid of the 2nd stage triode. In my project I found the placement of the bright caps and damping microphonics associated with them to be a challenge. The lead dress in this area, including the ground wire and the blue wire leading from the volume control is very critical and I tacked the wires and caps in place with hot glue at several points on the chassis.

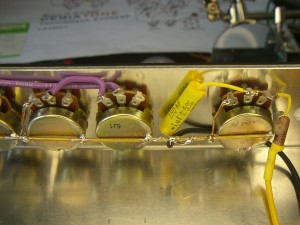
Showing the wiring of the presence cap

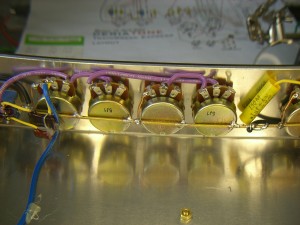
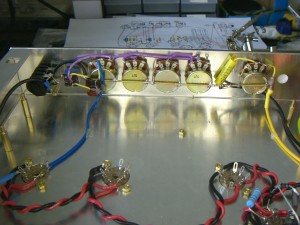
It is very convenient to pre-wire all the pots and get the ground-bus established before fitting in the main board. One of the hardest things was to get a good reliable connection from the back of each pot to the brass rod provided as a ground bus. The brass rod takes solder well, but the pot cases are another story. I filed the pot cases to roughen the surface and take off any lacquer, but I think you also need a really powerful heavy-tipped soldering iron to get enough heat to take solder well. If you have pots with stainless steel cases (like mil-spec clarostat or PEC) you wouldn’t be able to solder at all and you’d need to find special lug rings that go over each pot shaft to make the chassis ground connection. Separate wires go from the pot connections to the ground bus as required. The yellow wire is the negative feed-back to the presence pot circuit from the 8-ohm speaker lug on the impedance selector switch (see other posting).

Input jack, two-position bright switch and volume pot wiring

The coax lead from the input Jack to the grid of the 1st amplifier stage has its shield grounded right at the jack and left open at the grid to avoid a ground loop and potential noise from that.

Treble, middle, and bass pots wired in purple

Overview of pots and the prewiring

In the overview picture we see the chassis now complete except for the main board.

Building a TrainWreck(TM)-inspired Ceriatone Express (ion) — Part 4

by Mark ~ May 18th, 2008

Wiring up the Power Supply

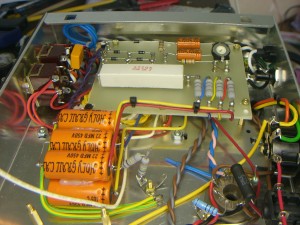
Power supply viewed from the rear of chassis

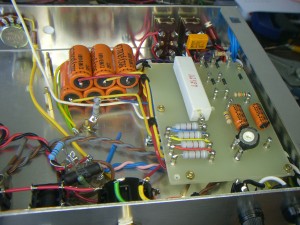
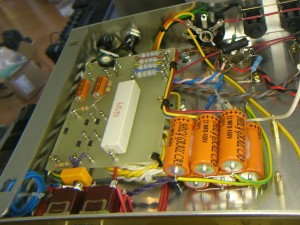
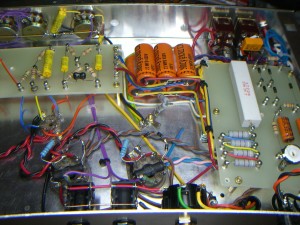
The trickiest part of this project is probably the installation of the power supply board and the filter capacitors. Careful consideration must be given to terminating the various grounds and some care in routing the DC voltages as well. The published layouts provide a good guide and hopefully the high resolution versions of these pictures (click on the picture) will help some more.

Power supply viewed from the front of the chassis

Power supply side view

I used a hot-glue gun to bond the capacitors together and attach them to the chassis. Others swear that you have to use silicone and worry that the chassis interior may get hot enough to melt or at least soften the hot-glue.

One of the changes I made was to short the bias wiper to the unused leg of the potentiometer in order to ensure that an intermittent wiper wouldn’t open circuit the bias pot completely.

Power supply rear view

Mounting Components and Wiring the Power Tube Sockets

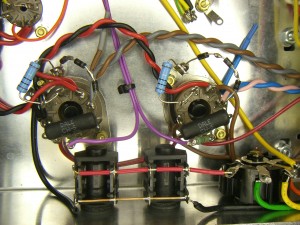
Power tube wiring details

You were half finished when you hooked up the output transformer and heater wires. The remainder of the power tube wiring is straight forward.

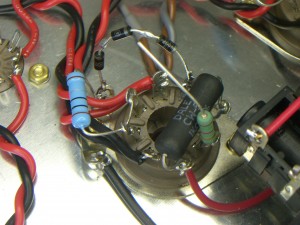
A spare tube pin is used to mount the screen resistor and the screen supply, direct from the power board, is daisy-chained to that pin on both power tube sockets.

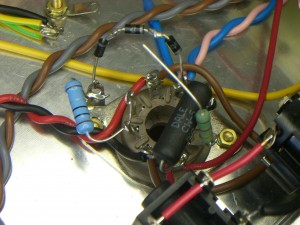
I found a couple of precision 1-ohm resistors in my kit so I wired up the cathode and suppressor to ground on each tube through a 1-ohm resistor that is useful for checking and setting the bias.

The little stack of diodes is used to protect against fly-back voltages and supposedly keep a shorted tube from taking out the output transformer… a safety modification Ken used to do in his repair business.

The grid resistors are mounted ‘flying’ off of the grid pin on the tube socket… keep grid resistors close to the pin. The purple wires shown above are the two phased output from the PI tube. Keep the two PI wires symmetrical at the tube so that you can easily swap them if you get positive feedback (squealing) when you first power up. There is a 50% chance of feedback because apparently the transformers aren’t wired with the phase consistent.

Power tube wiring

Power tube component mounting and wiring

New Web Hosting for TubeNexus

by Mark ~ May 17th, 2008

If you can read this, the DNS changes have propagated and you are reading the blog from the new web host. Continue reading »

Glen Kuykendall — Fender "Heavy Relic ‘57 Strat" and Trainwreck Express

by Mark ~ May 12th, 2008

Ken Fisher gave us the Trainwreck(TM) amplifier legacy and his Express amp is what the “Expression” Kit is inspired by.  But what does a Trainwreck Express sound like?

Continue reading »

Ridiculous Stratocaster Guitar Blog

by Mark ~ May 9th, 2008

The Strat-O-Blogster Guitar Blog bills itself as: Continue reading »

Ceriatone Expression DIY Project — Part 3

by Mark ~ May 7th, 2008

Another great development on the AmpGarage Forum… Ron Worley has compiled a lot of the key reference materials for a Trainwreck Express build into one large document and written a very comprehensive “Builders Guide” around the materials… and very well done, too. You can download the result from this thread: Express Build Guide. You need to register with AmpGarage.com to see and download attachments. Continue reading »

Save up to 78% During the Scratch 'N' Dent Sale